

How To Install A Vinyl Barn Sash Window
How to Build a Tilting Sash Barn Window
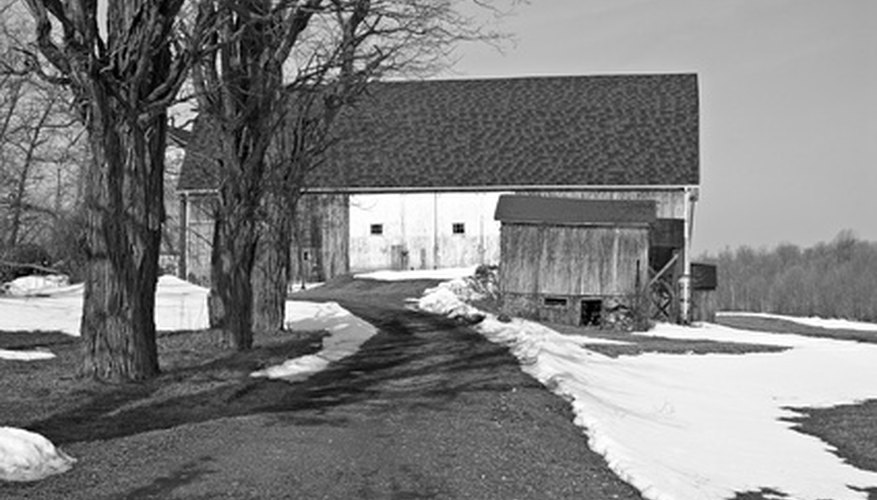
A hinged tilting sash, known as a hopper or befouled window, is a uncomplicated design congenital for long-lasting, trouble-costless usage. They can exist built from standard dimensional lumber and painted or stained to match your barn. The tilting sash requires three rectangles of lumber for its construction. The first is the frame, or jamb, made of 2-by-iv lumber. The second is the trim ring, or stop, that is fastened to the inside face of the jamb. This frame, made of i-by-2 lumber, gives the tertiary inside 2-by-2 lumber sash frame a finish to balance against when it is in the closed position.
Cutting four pieces of 2-by-4 lumber for the jamb frame. Cut 2 horizontal pieces ½ inch shorter than the width of the opening in the barn wall. Cut two vertical pieces 4 inches shorter than the top of the opening.
- A hinged tilting sash, known as a hopper or barn window, is a simple design built for long-lasting, trouble-free usage.
- Cut four pieces of two-by-four lumber for the jamb frame.
Cut four pieces for the end trim ring from 1-by-ii lumber. Cut two horizontal pieces, three inches shorter than the horizontal jamb pieces. Cut two vertical pieces the same height as the vertical jamb pieces. Cut both ends of each piece at a 45 caste bending. Brand the cuts with the one-by-2 on edge, one right and one left, so that each slice is a trapezoid.
- Cut four pieces for the stop trim ring from 1-by-2 lumber.
Install a 3/four-inch-wide stacked dado blade onto your table saw and ready the depth to ¼ inch. Clamp a piece of hardwood lumber to the face of the saw contend with quick clamps and position it so that the inside of the lumber rests lightly against the tips of the dado blade. Start the saw and run enough 2-by-2 over the blade to make a frame the same size every bit the trim ring frame.
Cut iv pieces of two-by-2 for the sash, or glass frame. Cut two horizontal pieces 1/viii inch shorter than the horizontal trim pieces. Cut two vertical pieces 1/8 inch shorter than the vertical trim pieces. Position the 2-by-2 with the dadoed face up. Mitre the ends at 45 degrees then that the short ends of the mitres run through the dado.
- Cut 4 pieces of 2-by-2 for the sash, or glass frame.
- Cut two vertical pieces i/viii inch shorter than the vertical trim pieces.
Gum and screw the outside frame together, with the 2 horizontal 2-by-4s parallel to each other and the vertical pieces in between them flush with the ends. Stand the pieces on edge. Drive two 3 inch treated deck screws into each joint.
Mucilage the mitred ends of the trim band boards and blast them together to form a rectangle the size of the centre opening in the window jamb frame. Skid the trim ring into the jamb frame and nail it in identify, i ½ inches in from 1 face of the frame. Apply a pivot nail gun and 2-inch nails.
- Glue the mitred ends of the trim ring boards and blast them together to form a rectangle the size of the centre opening in the window jamb frame.
Glue the mitred ends of the window glass frame and nail the corners together to course a rectangle. Position the pieces with the dadoed face up to provide an inset groove for the window glass. Utilize a bead of silicone caulk around this groove. Set up your glass into the groove. Press two push-type points into the wood on each side of the frame with a wide wood chisel.
Apply a bead of siliconized latex glazing compound around the inside face of the window, roofing the edge of the window drinking glass. Keep the tip of the tube at an angle, then that one corner rests on the edge of the groove and the other on the glass. Apply the glaze evenly around the glass. Wet the chisel with h2o and smooth the coat by dragging the chisel around the frame on the same angle you used for the glaze tube tip.
Prepare the glazed glass frame into the window frame then that it rests confronting the trim band. Using ¾ inch wood screws, attach two 1-inch hinges, two inches in from each bottom corner.
Screw ii eyehooks into the window, one on the top bar of the sash frame, two inches in from the right corner, and i directly above it in the jamb frame. Utilise threaded links to install an 8- to 10-inch chain between the eyehooks, allowing the window to tilt in and remain partially open. Position a barrel bolt latch on the height bar of the sash frame, with the barrel bridging the gap. Adhere it with ¾ inch screws. Fit the latch subclass over the bolt and attach it to the window jamb frame using the same screws.
- Employ a bead of siliconized latex glazing compound around the within face up of the window, covering the border of the window glass.
- Fit the latch bracket over the bolt and attach information technology to the window jamb frame using the same screws.
Source: https://www.ehow.co.uk/how_7482401_make-barn-sash-window.html
Posted by: horowitzwaston.blogspot.com
0 Response to "How To Install A Vinyl Barn Sash Window"
Post a Comment